Isolated Dev/Test Environment
Why do I need multiple environments?
When working with a data lake, it’s useful to have replicas of your production environment. These replicas allow you to test and understand changes to your data without impacting the consumers of the production data.
Running ETL and transformation jobs directly in production is a guaranteed way to have data issues flow into dashboards, ML models, and other consumers sooner or later. The most common approach to avoid making changes directly in production is to create and maintain multiple data environments. Dev environment to develop the data pipelines and test environment where pipeline changes are implemented before pushing it to production.
The issue with this approach is that it’s time-consuming and costly to maintain these separate dev/test environments. And for larger teams it forces multiple people to share these environments, requiring significant co-ordination.
How do I create dev/test environments with lakeFS?
lakeFS makes creating isolated dev/test environments instantaneous. This frees you from spending time on environment maintenance and makes it possible to create as many environments as needed.
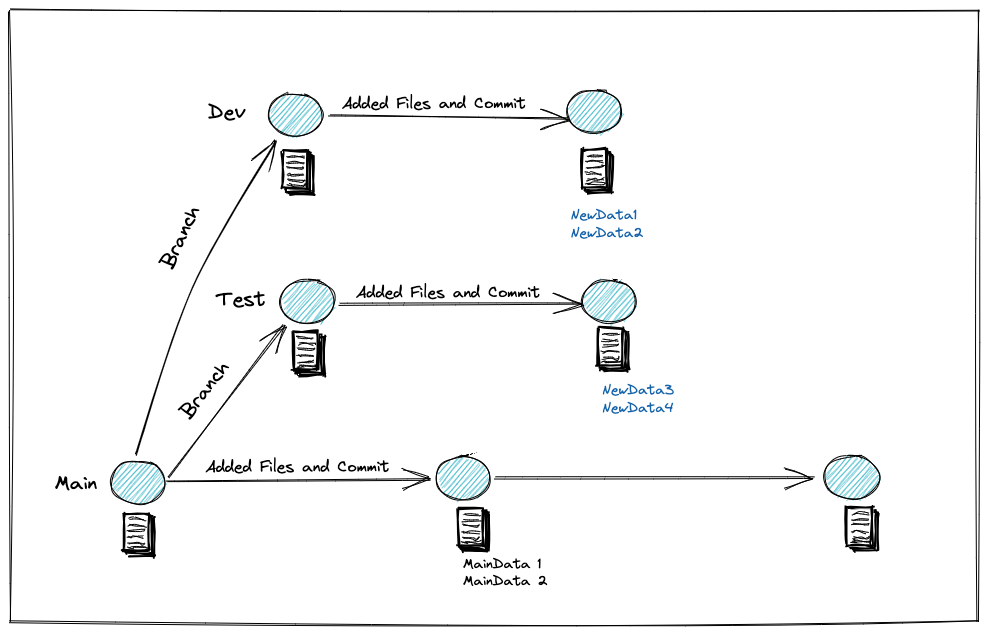
In a lakeFS repository, data is always located on a branch. You can think of each branch in lakeFS as its own environment. This is because branches are isolated, meaning changes on one branch have no effect other branches.
Objects that remain unchanged between two branches are not copied, but rather shared to both branches via metadata pointers that lakeFS manages. If you make a change on one branch and want it reflected on another, you can perform a merge operation to update one branch with the changes from another.
Let’s see an example of using multiple lakeFS branches for isolation.
Using branches as environments
The key difference when using lakeFS for isolated data environments is that you can create them immediately before testing a change. And once new data is merged into production, you can delete the branch - effectively deleting the old environment.
This is different from creating a long-living test environment used as a staging area to test all the updates. With lakeFS, we create a new branch for each change to production that we want to make. One benefit of this is the ability to test multiple changes at one time.
Creating Dev/Test Environments with lakeFS
lakeFS supports UI, CLI (lakectl commandline utility) and several client API integrations to run the Git-like operations. Let us explore how to create dev/test environments using each of these options below.
Using lakeFS Playground UI
In this tutorial, we will use lakeFS playground to create dev/test data environments. Playground allows you to spin up a lakeFS instance in a click, create different data environments by simply branching out of your data repository and develop & test data pipelines in these isolated branches.
First, let us spin up a playground instance. Once you have a live environment, login to your instance with access and secret keys. Then, you can work with the sample data repository my-repo that is created for you.
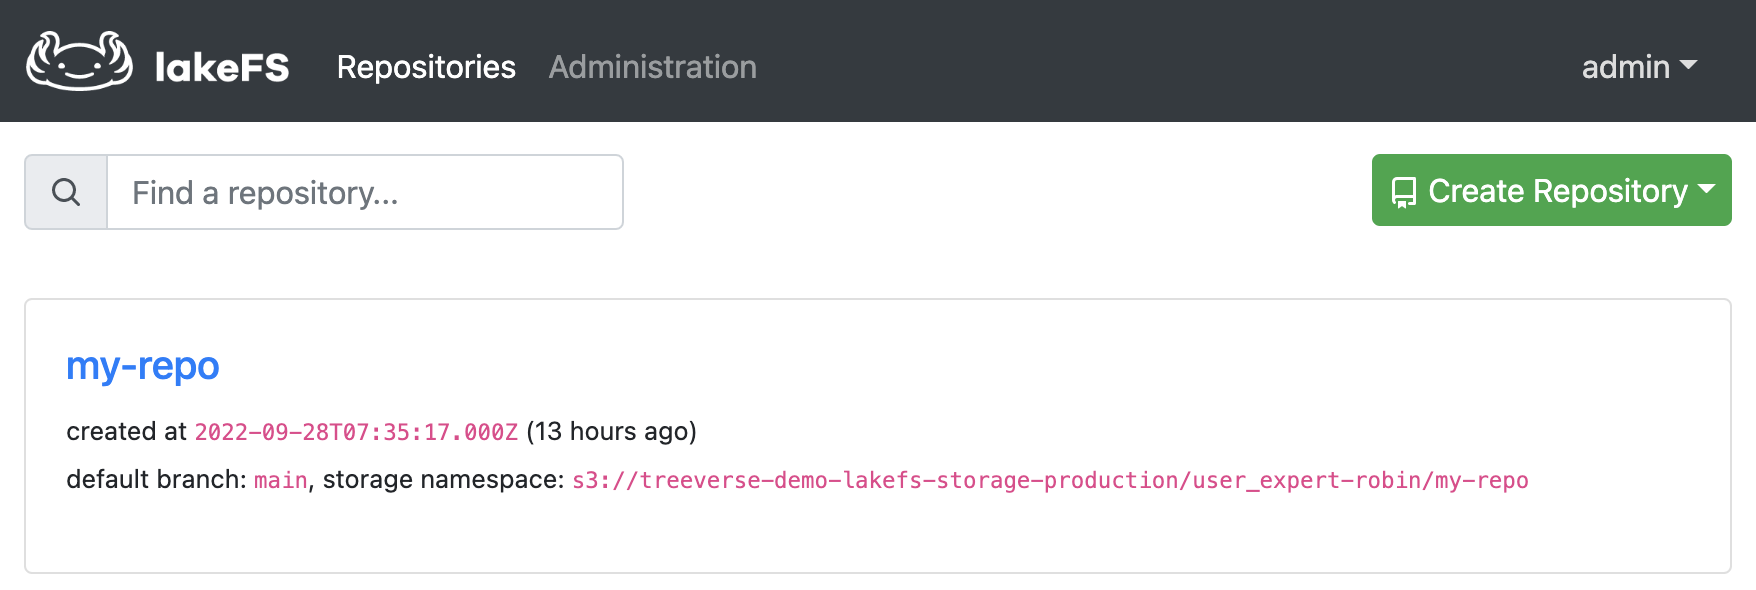
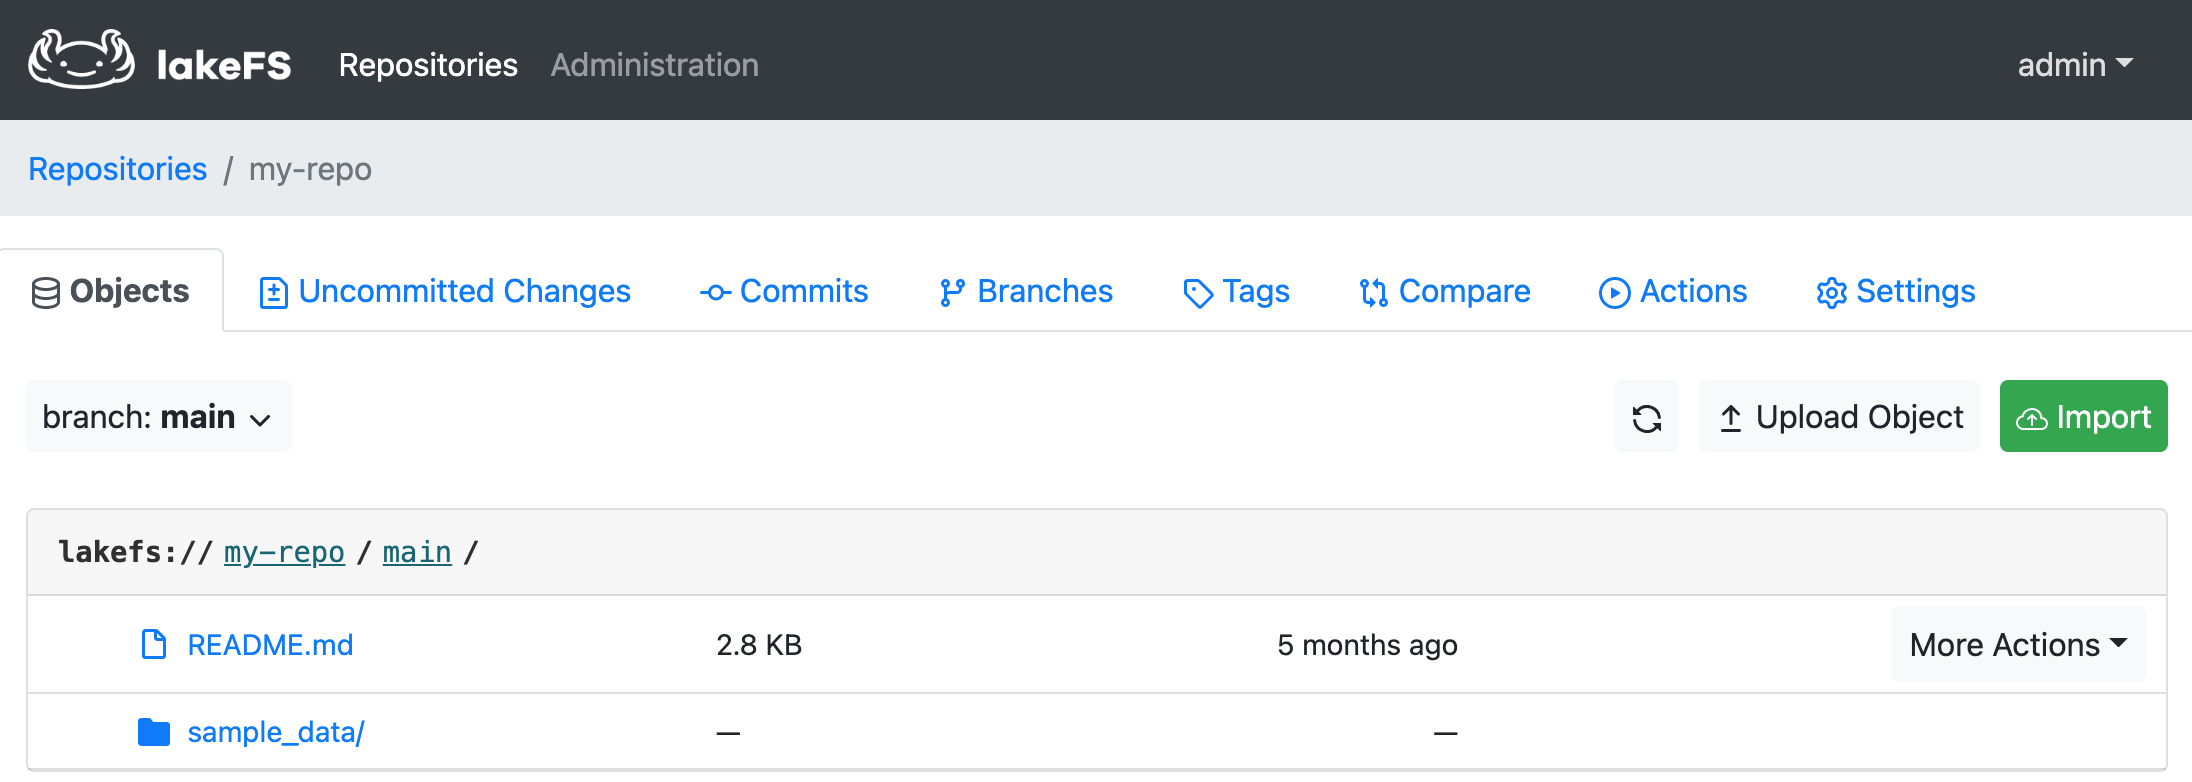
Click on my-repo and notice that by default, the repo has a main branch created and sample_data preloaded to work with.
You can create a new branch (say, test-env) by going to the Branches tab and clicking Create Branch. Once it is successful, you will see two branches under the repo: main and test-env.
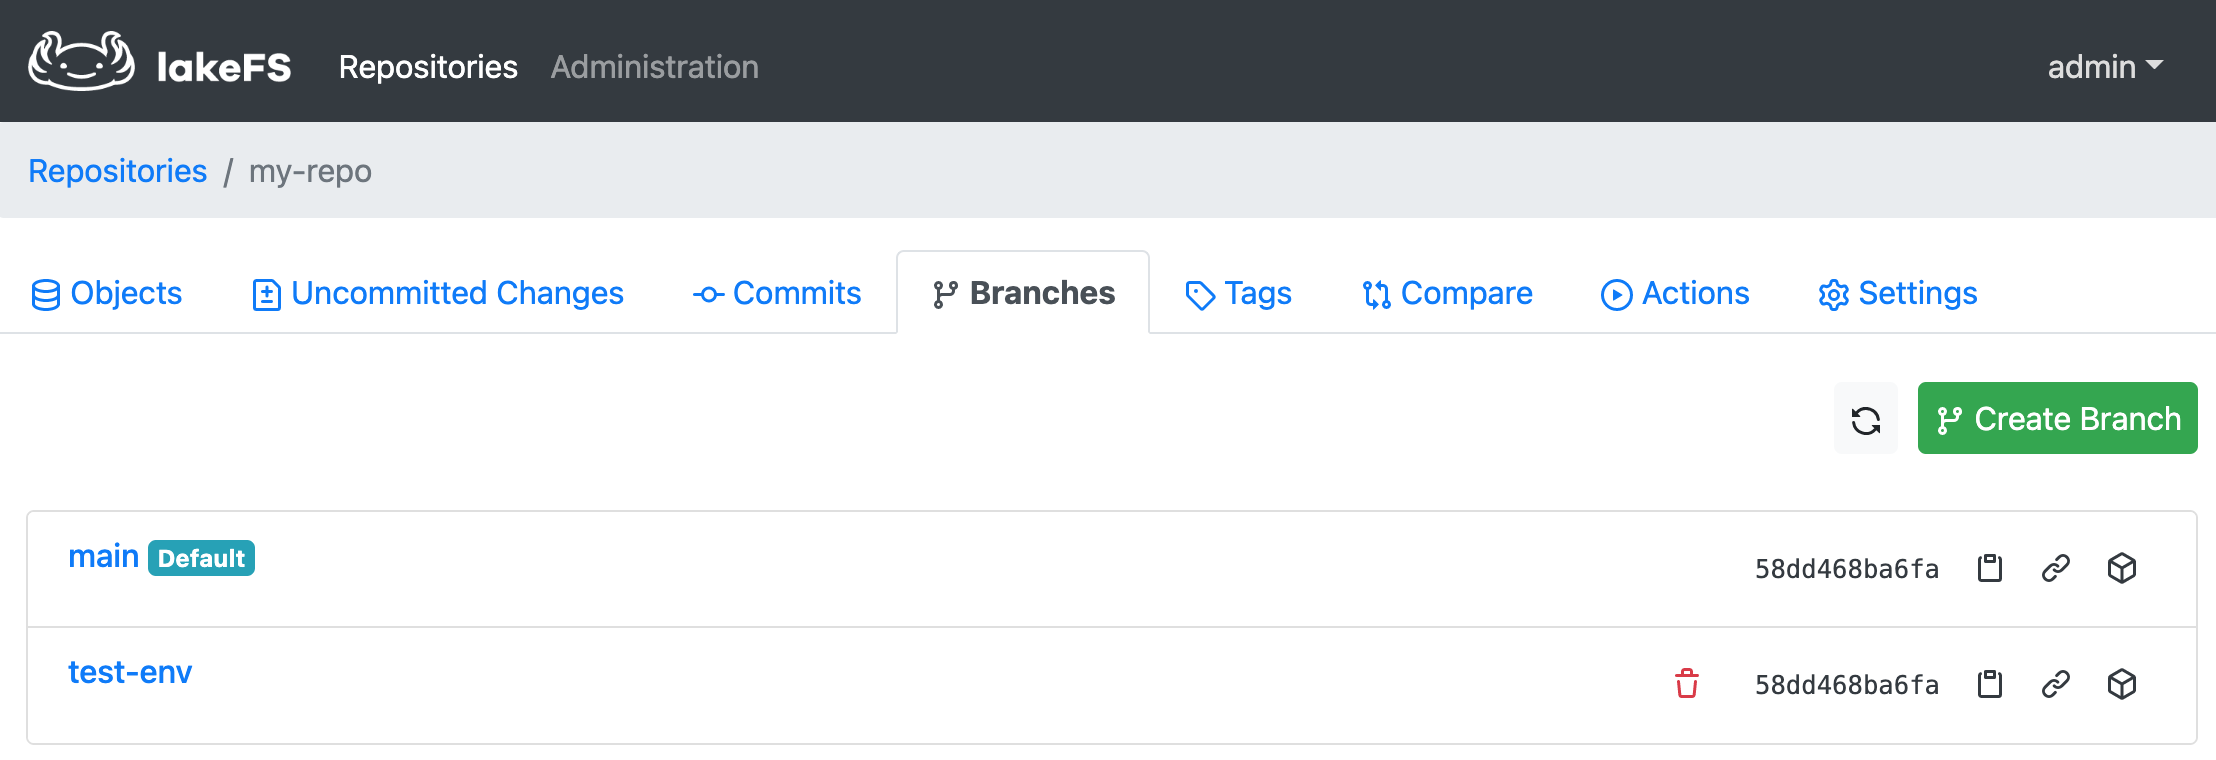
Now you can add, modify or delete objects under the test-env branch without affecting the data in the main branch.
Using lakeFS Python Client API and Jupyter notebook
This use case shows how to create dev/test data environments using lakeFS branches. The following tutorial will use an existing lakeFS environment (i.e., playground), a jupyter notebook, and python lakefs_client API to demonstrate integration of lakeFS with Spark. You can run this tutorial on your local machine.
Follow the tutorial video below to get started with the playground and jupyter notebook, or follow the instructions on this page.
Prerequisites
To instantly spin up a lakeFS environment and to work with sample data, use lakeFS playground. To use lakeFS with your own production data or to run it in your own machine, check out Quickstart guide.
Before getting started, you will need docker installed on your machine.
Once you have docker installed and a lakeFS instance running, you can access the lakeFS demo notebooks by cloning the lakeFS-samples git repo.
Follow along the steps below to create dev/test environment with lakeFS.
- Start by cloning the lakeFS samples Git repository:
git clone https://github.com/treeverse/lakeFS-samples.git && cd 03-apache-spark-python-demo - Run following commands to download and run Docker container which includes Python, Spark, Jupyter Notebook, JDK, Hadoop binaries, lakeFS Python client and Airflow (Docker image size is around 4.5GB):
docker build -t lakefs-spark-python-demo . docker run -d -p 8888:8888 -p 4040:4040 -p 8080:8080 --user root -e GRANT_SUDO=yes -v $PWD:/home/jovyan -v $PWD/jupyter_notebook_config.py:/home/jovyan/.jupyter/jupyter_notebook_config.py --name lakefs-spark-python-demo lakefs-spark-python-demo - Open JupyterLab UI http://127.0.0.1:8888/ in your web browser.
Once you have successfully completed setup then open “Spark Demo” notebook from JupyterLab UI and follow the instructions in the notebook.
Configuring lakeFS python client
Setup lakeFS access credentials for the lakeFS instance running. If you are using lakeFS playground, use the access key, secret key and endpoint details you received in your email. If you are running lakeFS using everything bagel docker, these details are found in docker-compose.yaml file under lakefs_setup section.
lakefsAccessKey = '<lakeFS Access Key>'
lakefsSecretKey = '<lakeFS Secret Key>'
lakefsEndPoint = '<lakeFS Endpoint URL>' # e.g. 'https://expert-robin.lakefs-demo.io/'
Next, setup the storage namespace to a location in the bucket you have configured. The storage namespace is a location in the underlying storage where data for this repository will be stored. If you are using the lakeFS playground, you can find the storage namespace under the repository name.
storageNamespace = 's3://<S3 Bucket Name>/' # e.g. "s3://treeverse-demo-lakefs-storage-production/user_expert-robin/my-repo"
You can use lakeFS through the UI, API or lakectl commandline. For this use-case, we use python lakefs_client to run lakeFS core operations.
import lakefs_client
from lakefs_client import models
from lakefs_client.client import LakeFSClient

# lakeFS credentials and endpoint
configuration = lakefs_client.Configuration()
configuration.username = lakefsAccessKey
configuration.password = lakefsSecretKey
configuration.host = lakefsEndPoint

client = LakeFSClient(configuration)
lakeFS can be configured to work with Spark in two ways:
- Access lakeFS using the S3A gateway
- Access lakeFS using the lakeFS-specific Hadoop FileSystem
Upload the sample data to main branch
To upload an object to the my-repo, use the following command.
import os
contentToUpload = open(os.path.expanduser('~')+'/lakefs_test.csv', 'rb')
client.objects.upload_object(
    repository="my-repo",
    branch="main",
    path=fileName, content=contentToUpload)
Once uploaded, commit the changes to the main branch and attach some metadata to the commit as well.
client.commits.commit(
    repository="my-repo",
    branch="main",
    commit_creation=models.CommitCreation(
        message='Added my first object!',
        metadata={'using': 'python_api'}))
In this example, we use lakeFS S3A gateway to read data from the storage bucket.
dataPath = f"s3a://my-repo/main/lakefs_test.csv"
df = spark.read.csv(dataPath)
df.show()
Create a test branch
Let us start by creating a new branch test-env on the example repo my-repo.
client.branches.create_branch(
    repository="my-repo",
    branch_creation=models.BranchCreation(
        name="test-env",
        source="main"))
Now we can use Spark to write the csv file from main branch as a Parquet file to the test-env of our lakeFS repo. Suppose we accidentally write the dataframe back to “test-env” branch again, this time in append mode.
df.write.mode('overwrite').parquet('s3a://my-repo/test-env/')
df.write.mode('append').parquet('s3a://my-repo/test-env/')
What happens if we re-read in the data on both branches and perform a count on the resulting DataFrames?
There will be twice as many rows in test-env branch. That is, we accidentally duplicated our data! Oh no!
Data duplication introduce errors into our data analytics, BI and machine learning efforts, hence we would like to avoid duplicating our data.
On the main branch however, there is still just the original data - untouched by our spark code. This shows the utility of branch-based isolated environments with lakeFS.
You can safely continue working with the data from main which is unharmed due to lakeFS isolation capabilities.
Case Study: Enigma
Learn how Enigma increased Data Engineers efficiency using lakeFS’ branching to achieve islated development and staging environments.