Commit the Changes
Install lakectl
lakeFS comes with its own native CLI client, lakectl.
You can use it to perform Git-like operations like committing, reverting, and merging.
Follow the tutorial video below to get started with the CLI, or follow the instructions on this page.
Here’s how to get started with the CLI:
-
Download the CLI binary:
You can download the CLI binary from the official lakeFS releases published on GitHub under “Assets”. Unless you need a specific previous version of the CLI, it’s recommended to download the most recently released one.
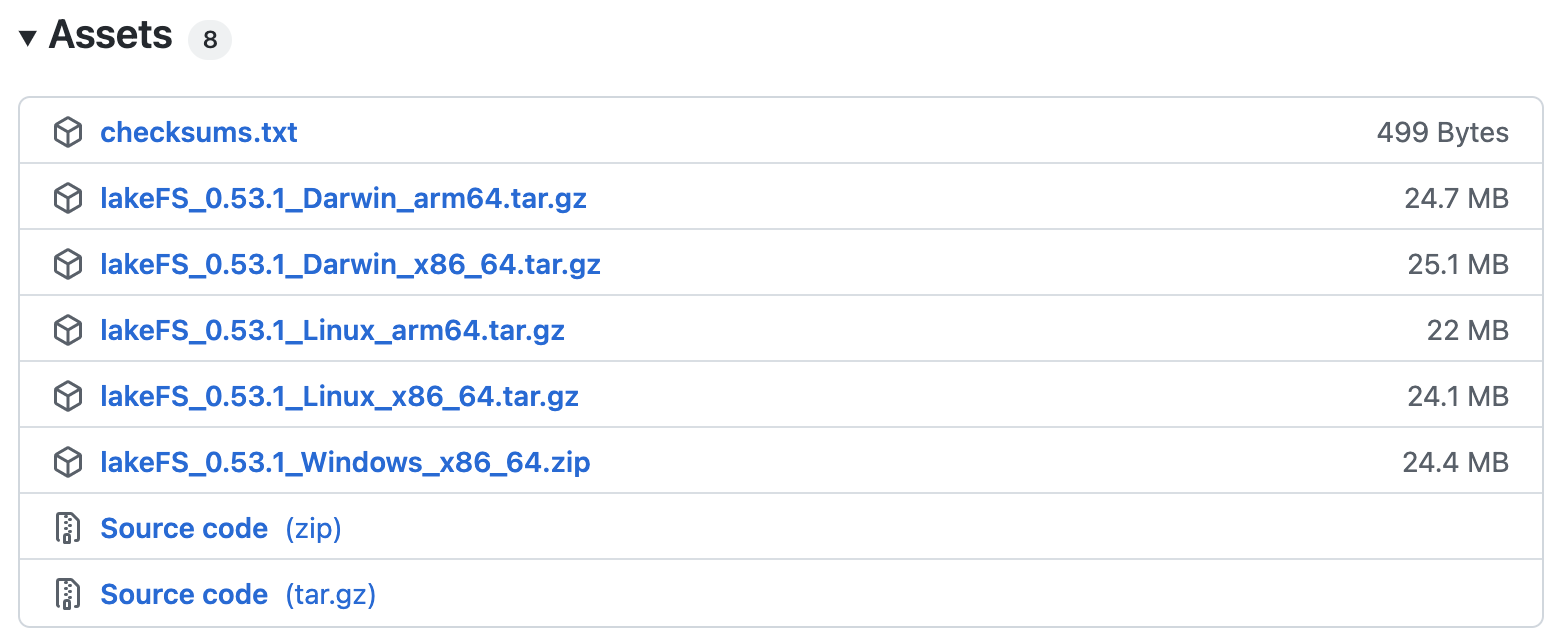
The Operating System of the computer you’re using determines whether you should pick the binary Asset compiled for Windows, Linux, or Mac (Darwin). For Mac and Linux Operating Systems, the processor determines whether you should download the x64 or arm binary.
-
Once unzipped, inside the downloaded asset you’ll see a file named
lakectl. It’s recommended that you place this file somewhere in your PATH (this is OS dependant but for *NIX systems ,/usr/local/binis usually a safe bet). Once in your PATH, you’ll be able to open a Terminal program and run lakectl commands! -
We recommend starting with
lakectl configto configure the CLI to use the credentials created earlier:lakectl config # output: # Config file /home/janedoe/.lakectl.yaml will be used # Access key ID: AKIAJVHTOKZWGCD2QQYQ # Secret access key: **************************************** # Server endpoint URL: http://localhost:8000Note The first time you run a
lakectlcommand you may need to respond to a prompt to allow the program to run (depending on your computer’s security settings). -
To verify that
lakectlis properly configured, you can list the branches in your repository:lakectl branch list lakefs://example-repo # output: # +----------+------------------------------------------------------------------+ # | REF NAME | COMMIT ID | # +----------+------------------------------------------------------------------+ # | main | a91f56a7e11be1348fc405053e5234e4af7d6da01ed02f3d9a8ba7b1f71499c8 | # +----------+------------------------------------------------------------------+
Perform your first commit
Now you can commit the file you’ve added in the previous section:
lakectl commit lakefs://example-repo/main -m 'added my first file!'
# output:
# Commit for branch "main" done.
#
# ID: 901f7b21e1508e761642b142aea0ccf28451675199655381f65101ea230ebb87
# Timestamp: 2021-06-15 13:48:37 +0300 IDT
# Parents: a91f56a7e11be1348fc405053e5234e4af7d6da01ed02f3d9a8ba7b1f71499c8
Note: lakeFS versions <= v0.33.1 used ‘@’ (instead of ‘/’) as separator between repository and branch.
And finally, you can view the log to see the new commit:
lakectl log lakefs://example-repo/main
# output:
# commit 901f7b21e1508e761642b142aea0ccf28451675199655381f65101ea230ebb87
# Author: Example User <user@example.com>
# Date: 2021-06-15 13:48:37 +0300 IDT

      added my first file!
Congratulations! You’ve completed your first commit in lakeFS.
Next steps
- Learn how to deploy lakeFS on your cloud.
- Join us on Slack to introduce yourself, discover best practices and share your own!