Create a Repository
A repository contains all of your objects, including the revision history. You can consider it as the lakeFS analog of a bucket in an object store. Since it has version control qualities, it is also analogous to a repository in Git.
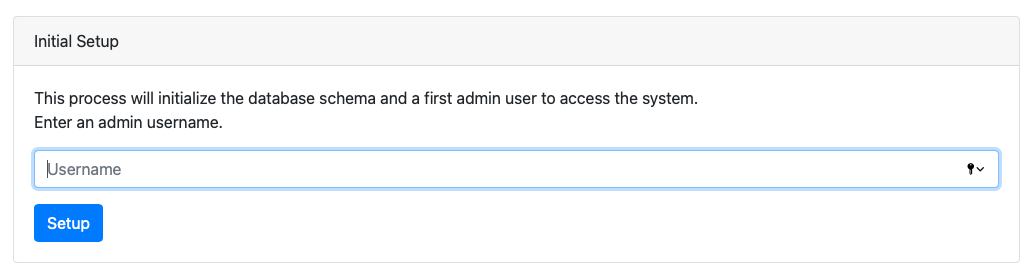
Create the first user
When you first open the lakeFS UI, you will be asked to create an initial admin user.
-
Open http://127.0.0.1:8000/ in your web browser.
-
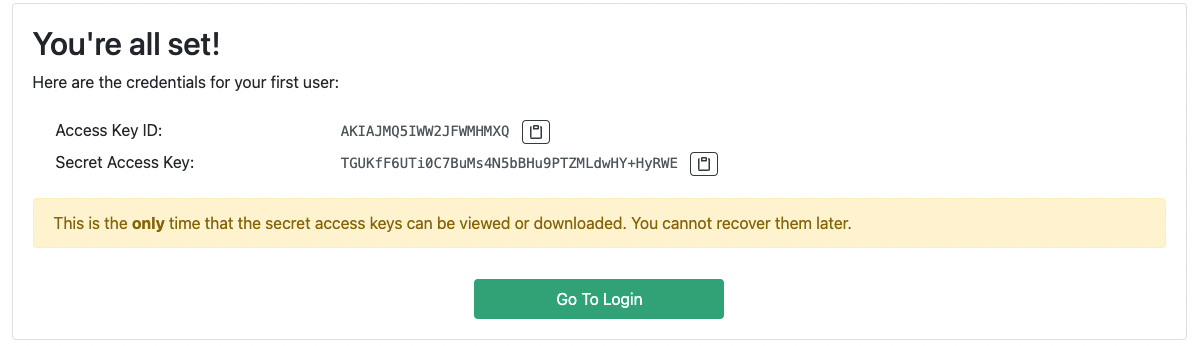
Follow the steps to create an initial administrator user. Save the credentials you’ve received somewhere safe, you won’t be able to see them again!
-
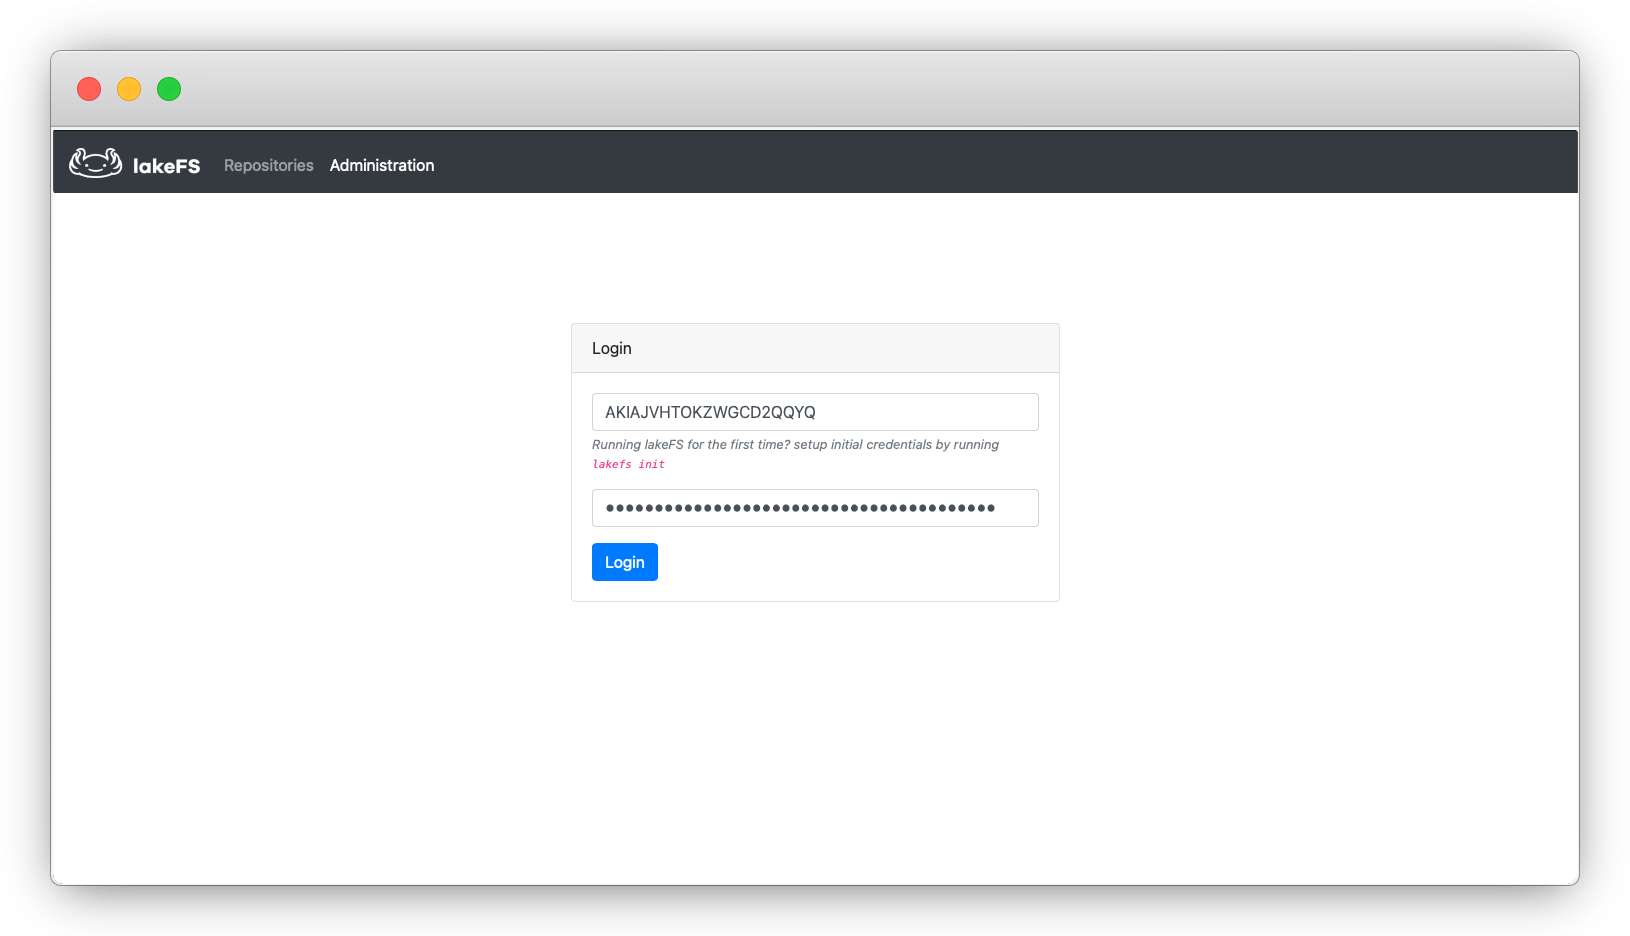
Follow the link and go to the login screen:
Create the repository
-
Use the credentials from the previous step to log in as an administrator.
-
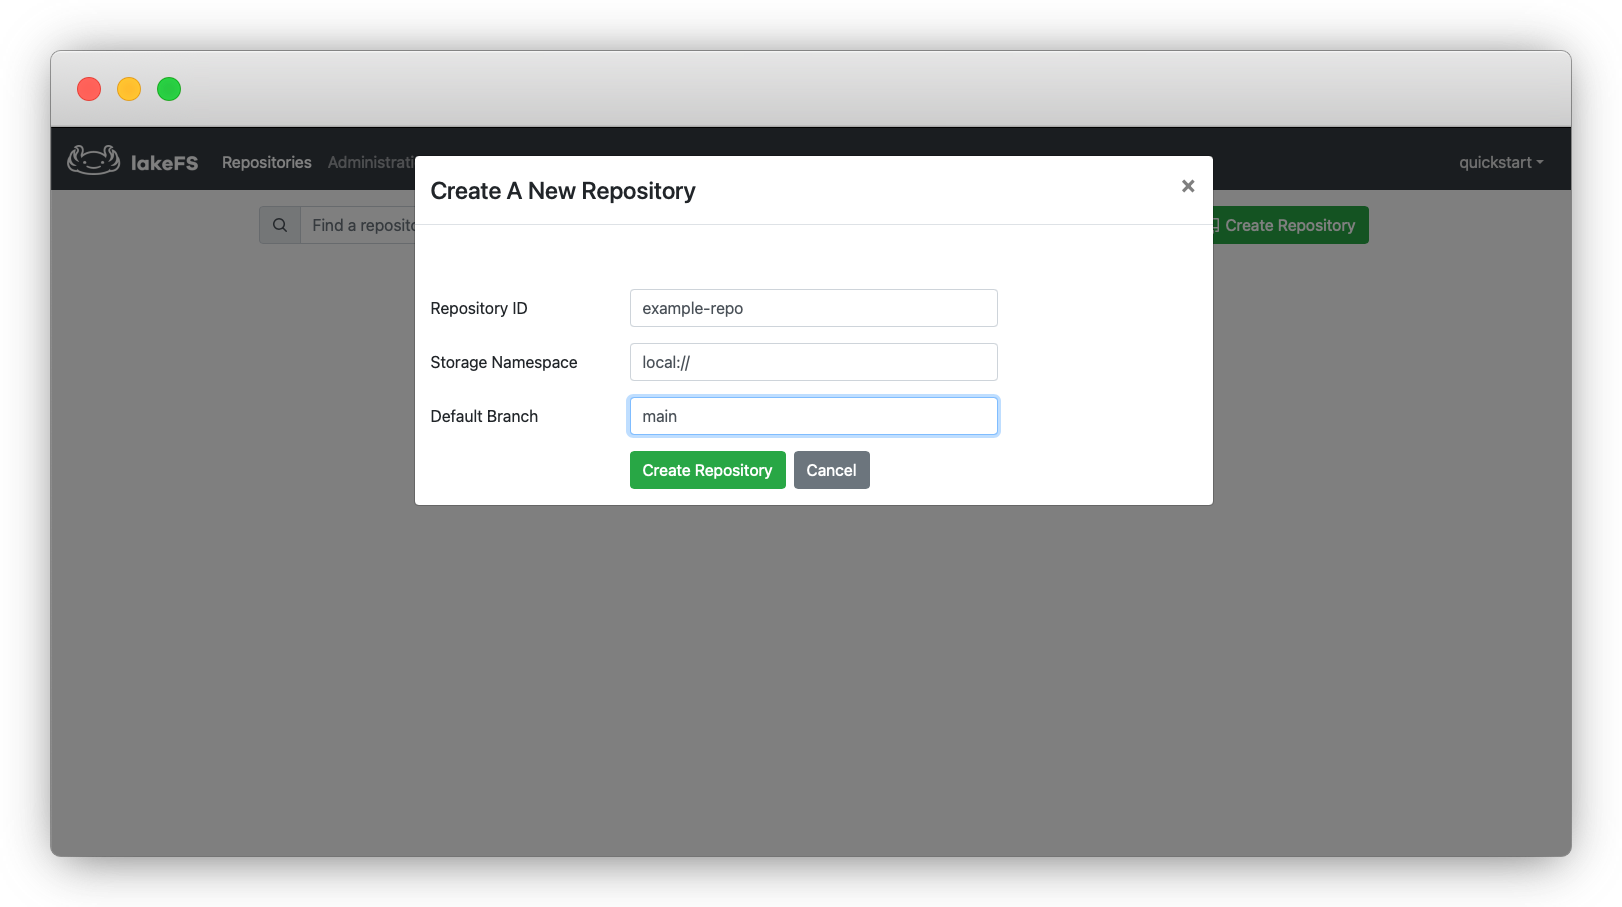
Click Create Repository.
-
Fill in the repository name.
-
Under Storage Namespace, enter
local://.In this tutorial, the underlying storage for lakeFS is the local disk. Accordingly, the value for Storage Namespace should simply be
local://. For a deployment that uses an object store as the underlying storage, this would be a location in the store - for example,s3://example-bucket/prefix. -
Click Create Repository.
Next steps
You’ve just created your first lakeFS repository! You can now add some data to it.