Add Data
In this section, you’ll learn how to copy a file into lakeFS.
Configuring the AWS CLI
Since lakeFS exposes an S3-compatible API, you can use the AWS CLI to operate on it.
- If you don’t have the AWS CLI installed, follow the instructions here.
-
Configure a new connection profile using the lakeFS credentials you have generated earlier:
aws configure --profile local # fill in the lakeFS credentials generated earlier: # AWS Access Key ID [None]: AKIAJVHTOKZWGCD2QQYQ # AWS Secret Access Key [None]: **************************************** # Default region name [None]: # Default output format [None]: -
Let’s test it to check whether it works. You can do that by calling
s3 ls, which should list your repositories:aws --endpoint-url=http://localhost:8000 --profile local s3 ls # output: # 2021-06-15 13:43:03 example-repoNote the usage of the
--endpoint-urlflag, which tells the AWS CLI to connect to lakeFS instead of AWS S3. -
Great, now let’s copy some files. You will write to the main branch. This is done by prefixing the path with the name of the branch we’d like to read/write from:
aws --endpoint-url=http://localhost:8000 --profile local s3 cp ./foo.txt s3://example-repo/main/ # output: # upload: ./foo.txt to s3://example-repo/main/foo.txt -
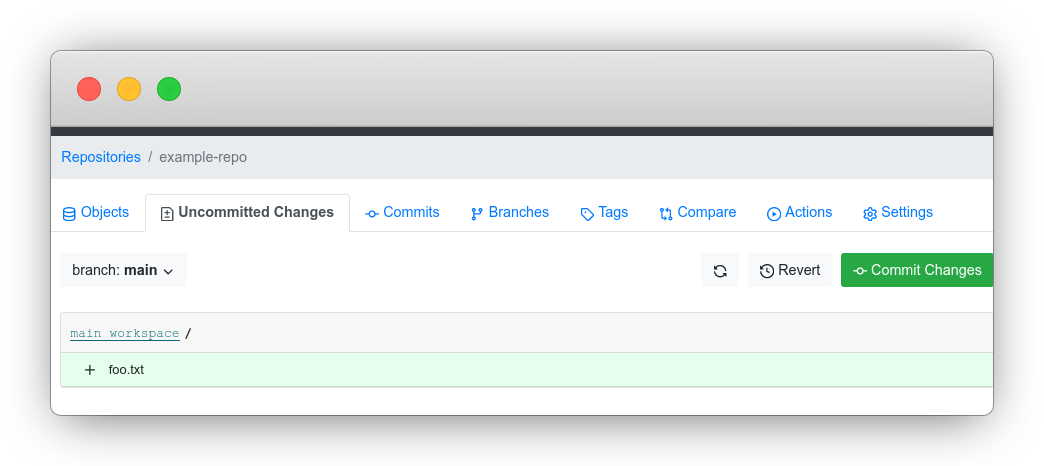
Back in the lakeFS UI, you can see your file in the Uncommitted Changes tab:
Next steps
It’s time to commit your changes using the lakeFS CLI.